Step-by-Step Guide to Creating a Paper Puppet: Elevate Your Craft with Expert Construction Methods
Crafting paper puppets represents one of the most accessible and rewarding creative endeavours for makers of all skill levels. This time-honoured tradition, with roots stretching back to Ancient Greece, continues to captivate audiences and creators alike through its elegant simplicity and expressive potential. Whether you are preparing educational materials for classroom projects, seeking engaging rainy day activities, or simply exploring the art of puppetry, mastering professional construction methods transforms a simple sheet of paper into a compelling character ready for performance.
Essential Materials and Tools for Professional Paper Puppet Construction
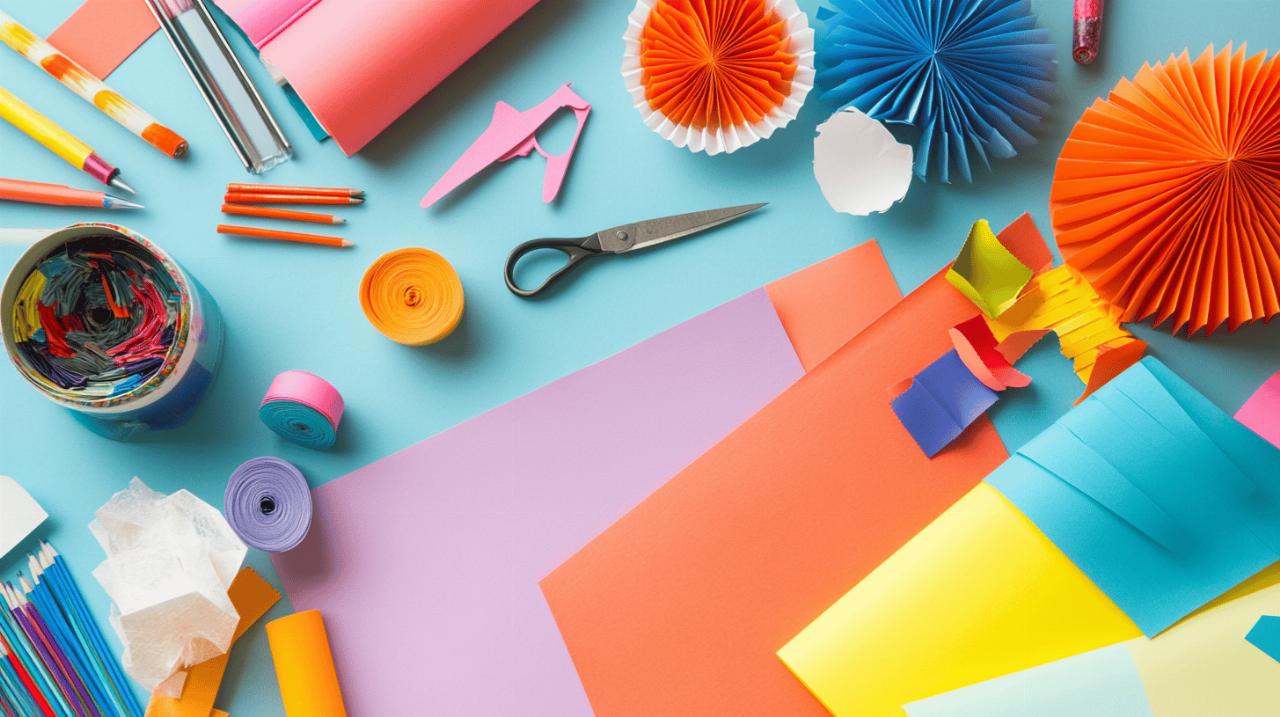
The foundation of any successful paper puppet begins with selecting appropriate materials that balance aesthetic appeal with structural integrity. Professional puppet makers understand that the choice of paper directly influences both the longevity and performance characteristics of the finished creation. Construction paper remains a popular choice for its vibrant colours and reasonable thickness, though printer paper offers excellent foldability for more intricate designs requiring precise creases and mechanisms.
Selecting the Right Paper and Cardstock for Durability
When considering durability, cardstock presents distinct advantages over standard paper weights. Its rigidity ensures that puppet bodies maintain their shape during repeated performances, whilst the added thickness prevents tearing at joint connections where movement naturally creates stress points. Construction paper strikes a middle ground, offering sufficient body for most applications whilst remaining easy to fold and manipulate. For puppets intended for extended use or frequent handling by children, selecting heavier weight papers between one hundred and sixty to two hundred gsm delivers optimal results. Tissue paper, whilst delicate, can create stunning textural effects when layered or used selectively for costume elements, though it requires careful handling during assembly.
Professional fastening methods: split pins versus alternative techniques
The method chosen for attaching movable components fundamentally shapes how your puppet performs. Split pins, also known as brads, represent the traditional solution for creating articulated joints that allow limbs and features to pivot smoothly. These brass fasteners pierce through precisely positioned holes, securing layers whilst permitting rotation. The technique requires careful placement to ensure natural movement ranges without excessive looseness that might compromise control during manipulation. Alternative approaches include using thread or thin wire threaded through small punctures, which offers more subtle movement possibilities though requiring greater dexterity during assembly. Some makers prefer adhesive tape for simpler fixed-position attachments, particularly when creating puppets for younger children where safety considerations favour eliminated sharp components.
Design fundamentals: planning your paper puppet before construction
Thoughtful planning distinguishes amateur attempts from professionally crafted paper puppets. Before scissors meet paper, successful makers invest time sketching designs that consider both visual appeal and mechanical functionality. This preparatory phase prevents costly material waste and ensures that your finished puppet performs as intended rather than merely existing as a static decoration.
Sketching proportions and movement mechanics
Understanding proportions elevates your puppet from crude approximation to recognisable character. Standard human-like figures typically follow a head-to-body ratio where the head measures roughly one-seventh of total height, though stylised characters benefit from exaggerated proportions that enhance personality. Larger heads on smaller bodies convey innocence or comedy, whilst elongated limbs suggest elegance or otherworldliness. Sketching your design on scrap paper allows experimentation with these relationships before committing to final materials. Consider how each component will move relative to others. A puppet intended for walking motions requires leg joints positioned at natural hip and knee locations, whilst a character designed primarily for upper body expression might feature simplified lower anatomy with enhanced shoulder and elbow articulation.
Choosing character aesthetics and functional joint placement
Character aesthetics emerge from deliberate choices about features, colours, and decorative elements. A valiant knight demands different visual language than a cheeky parrot or friendly monster, with each archetype carrying established expectations regarding shapes, patterns, and embellishments. Selecting your character concept guides every subsequent decision, from colour palette to the placement of details like eyes, mouths, and clothing. Joint placement requires balancing anatomical accuracy against practical manipulation. Positioning shoulder joints slightly higher than anatomically correct often improves the visual appeal of arm movements, whilst jaw joints placed directly beneath the ear location create more convincing speaking motions. Mark proposed joint locations on your sketch, considering how each will be controlled during performance and ensuring that no single control point becomes overburdened with multiple movement responsibilities.
Advanced assembly techniques for superior paper puppets
 Execution quality separates adequate paper puppets from exceptional ones. Professional construction techniques ensure clean edges, secure attachments, and mechanisms that function reliably through countless performances. Mastering these methods requires patience and attention to detail, yet the investment rewards makers with creations that truly bring stories to life.
Precision cutting methods for clean professional edges
Sharp scissors represent non-negotiable requirements for professional results. Dull blades crush paper fibres rather than slicing cleanly through them, producing ragged edges that undermine the polished appearance of your puppet. When cutting curves, rotate the paper rather than the scissors, maintaining consistent blade angle whilst allowing the material to feed naturally into the cutting path. This technique produces smoother arcs with fewer directional changes that might create visible facets. For straight edges, rulers guide craft knives to create perfectly linear cuts impossible to achieve with scissors alone. Cutting intricate details benefits from working inward from larger shapes, removing excess material progressively whilst the surrounding paper provides structural support. Small details like fingers or decorative elements require particular care, with multiple gentle cuts producing superior results compared to attempting complete separation in a single aggressive motion.
Secure attachment strategies for long-lasting puppets
Adhesive selection impacts both immediate assembly success and long-term durability. PVA glue works brilliantly for most paper-to-paper bonds, providing strong adhesion once fully cured whilst remaining repositionable during initial application. Apply thin, even coats rather than generous dollops that seep beyond intended areas or create wrinkled surfaces as they dry. For immediate bonding without waiting for glue to cure, double-sided tape offers convenience though typically at some cost to ultimate strength. When attaching three-dimensional elements like googly eyes, buttons, or fabric scraps, hot glue guns provide secure adhesion across dissimilar materials, though adult supervision becomes essential when younger makers participate. Split pin installation requires pre-punching holes with an appropriately sized tool; forcing pins through unprepared paper tears fibres and creates oversized openings that compromise joint tightness. A pin pushed through a properly sized hole should require gentle but definite pressure whilst leaving minimal clearance around its shaft.
Performance and Presentation: Bringing Your DIY Paper Puppet to Life
Construction represents merely the first act of your puppet's story. Truly exceptional paper puppets transcend their material origins through skillful manipulation and thoughtful presentation that engages audiences and sparks imagination. Understanding performance fundamentals transforms your creation from craft project into theatrical tool capable of genuine storytelling.
Handle attachment options for optimal control
Control mechanisms determine how effectively you can manipulate your puppet during performance. Traditional hand puppets designed from folded paper feature built-in pockets that accommodate fingers and thumb, creating mouth mechanisms that open and close as your hand moves. The standard technique involves folding rectangular paper into thirds lengthwise, then folding this strip in half to create an M-shaped profile. When your thumb occupies the lower pocket and fingers rest in the upper section, natural hand movements animate the puppet's jaw convincingly. Paper bag puppets utilise the lunch bag's bottom flap as an upper jaw, with decorating focused on this movable section to create expressive faces. For puppets intended for rod control rather than hand insertion, lolly sticks or dowels attached to the back provide simple yet effective manipulation. Position the rod slightly below the puppet's centre of gravity for balanced movement, securing it with generous amounts of glue or reinforced tape connections.
Movement techniques and puppet theatre basics
Effective puppet manipulation relies less on complex choreography than on understanding a few fundamental principles. Smooth, deliberate movements read more clearly to audiences than frantic gestures that blur your puppet's actions. When your character speaks, coordinate mouth movements with your own speech rhythm, opening the jaw on stressed syllables whilst keeping it relatively closed during connective words and phrases. This selective animation creates the illusion of speech without exhausting audiences through constant mechanical motion. Direction of focus matters tremendously. A puppet looking directly at its scene partner or toward the audience creates engagement, whilst gazes directed toward the floor or ceiling break theatrical connection. Practice transitioning smoothly between these focus directions to indicate thought, realisation, or emotional shifts. For puppet shows involving multiple characters, simple staging using a table turned on its side as a theatre front allows performers to crouch behind whilst elevating puppets into the performance space. Encourage teamwork when creating group shows, with different makers crafting individual characters that interact during collaborative storytelling that develops speaking skills alongside creative expression.